Luxury Vinyl Plank (LVP) flooring has become a top choice for homeowners looking to upgrade their floors with a product that offers style, durability, and affordability. Whether you’re tackling a DIY project or working with professionals, proper planning and preparation can make a huge difference in the result. In this guide, we’ll cover 10 expert tips to ensure your LVP flooring installation is a success — both functionally and visually.
1. Understand What Makes LVP So Popular
Before starting your project, it’s important to understand why Luxury Vinyl Plank (LVP) is a standout flooring option. LVP mimics the look of natural hardwood, stone, or ceramic tile, but is made of synthetic materials that are water-resistant, scratch-resistant, and easy to maintain. It’s ideal for high-traffic areas, families with kids and pets, and moisture-prone rooms like kitchens and bathrooms.
Key Benefits:
- Waterproof core (WPC or SPC)
- Click-lock or glue-down installation
- Easy maintenance
- Affordable luxury look
2. Choose the Right Type of LVP for Your Space
Not all LVP is created equal. There are different core constructions:
- WPC (Wood Plastic Composite): Softer underfoot, better sound absorption.
- SPC (Stone Plastic Composite): More rigid and durable, better for high-traffic or commercial use.
Also, decide between click-lock planks (floating floor system) and glue-down options, depending on your subfloor and needs.
Pro tip: For uneven subfloors or moisture-prone areas, SPC is usually a better choice.
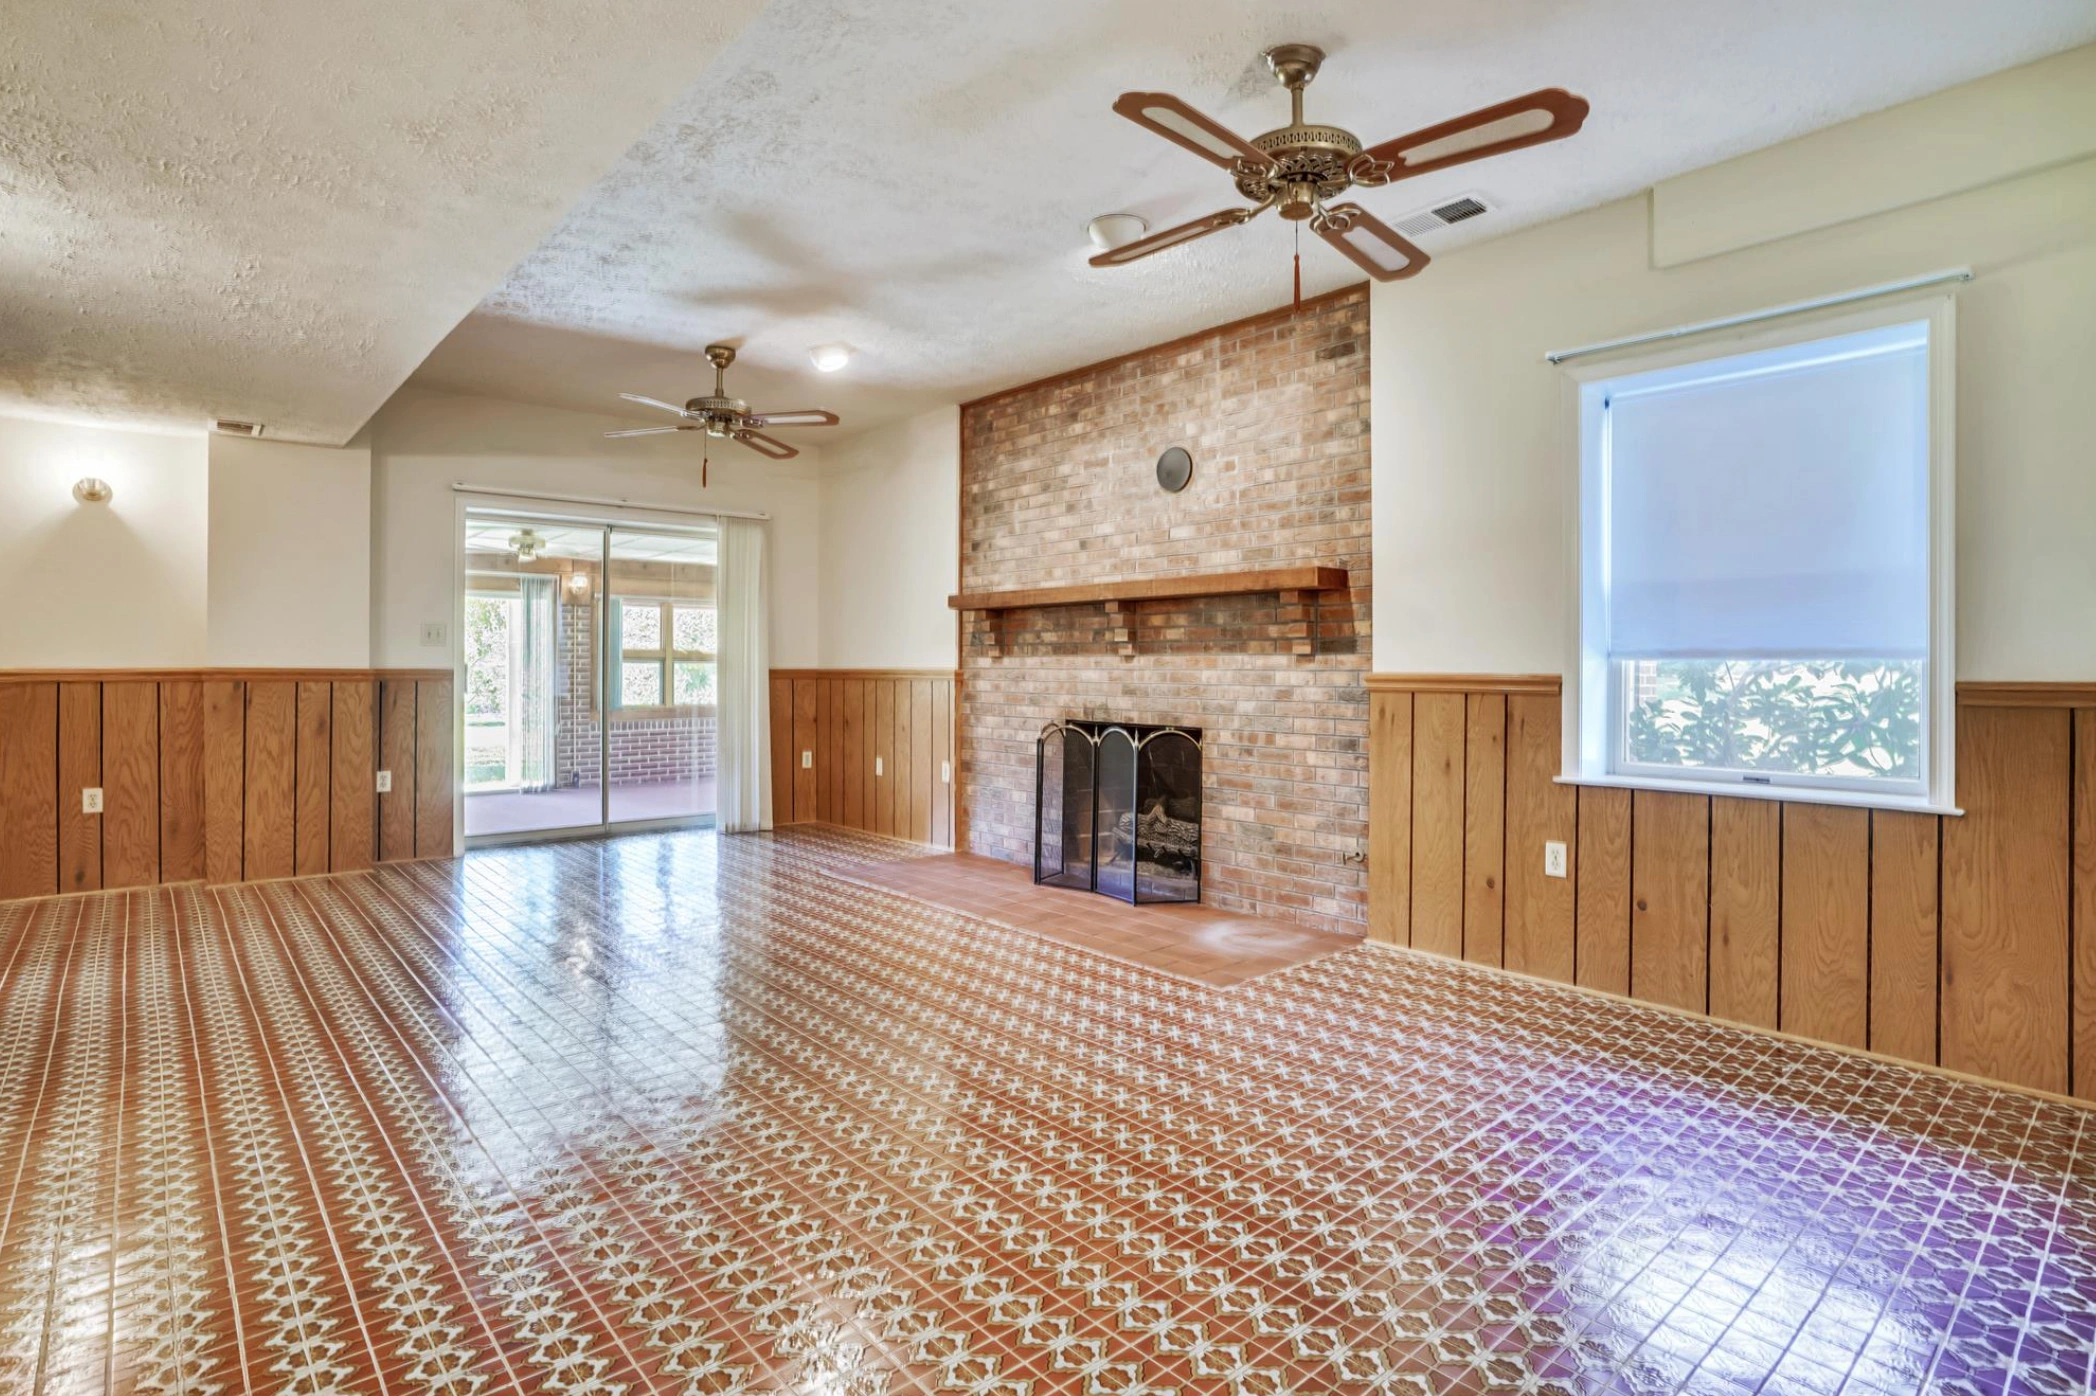
3. Prepare Your Subfloor Thoroughly
Subfloor preparation is one of the most critical steps in any Luxury Vinyl Plank flooring installation. An uneven or dirty subfloor can result in gaps, bouncing, or premature wear.
Checklist for subfloor prep:
- Clean and remove debris or glue
- Fill in low spots with self-leveling compound
- Remove high spots with a grinder or sander
- Ensure the floor is completely dry and flat within manufacturer’s specs
4. Acclimate Your LVP Before Installation
Most LVP manufacturers recommend acclimating planks in the room where they’ll be installed for 48–72 hours. This allows the planks to adjust to room temperature and humidity, reducing the risk of expansion or contraction after installation.
Tip: Lay the boxes flat and open the ends slightly for airflow.
5. Plan the Layout in Advance
Don’t just start laying planks at the edge of the room. Plan the layout to ensure:
- Even cuts along walls
- Staggered seams for a natural wood look
- Alignment with focal points (like a hallway or kitchen island)
Use a chalk line to mark a straight reference line across the starting wall.
6. Use the Right Tools
Even though LVP flooring is relatively easy to install, having the right tools ensures cleaner cuts and a professional finish.
Essential tools:
- Utility knife or vinyl plank cutter
- Spacers (for expansion gaps)
- Tapping block and rubber mallet
- Pull bar for tight areas
- Measuring tape and speed square
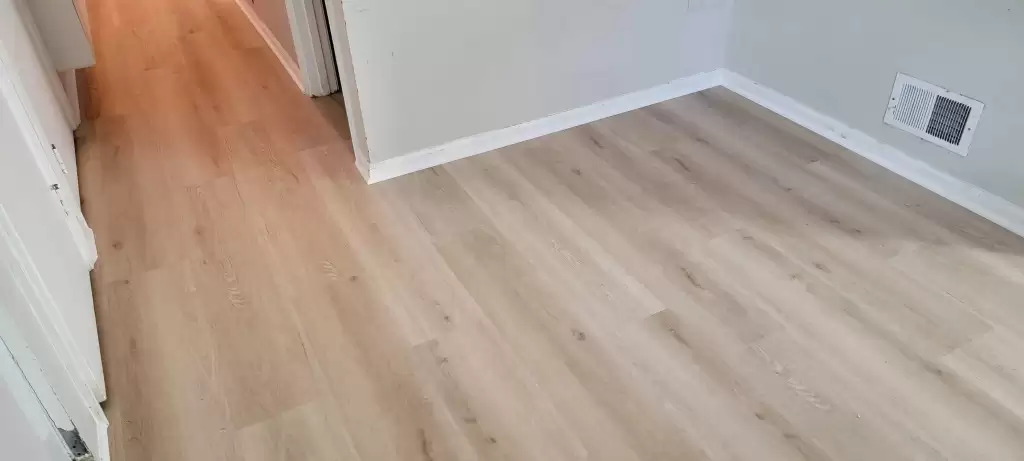
7. Maintain Expansion Gaps
Like most floating floors, LVP needs room to expand and contract with temperature changes. Leave at least a 1/4-inch gap around the perimeter, including at walls, columns, and fixed objects.
Skipping this step could cause buckling or lifting over time.
8. Stagger Your Seams Properly
For a natural and stable look, avoid aligning the seams too closely. Most manufacturers recommend staggering joints by at least 6 inches between adjacent rows. Randomizing the pattern also enhances the appearance of real hardwood.
Uniform seams can weaken the floor and make it look artificial.
9. Install Underlayment If Required
Depending on the product, you may need an underlayment — especially if your LVP doesn’t include one attached. Underlayment can help with:
- Noise reduction
- Moisture barrier
- Softness underfoot
Always check the manufacturer’s recommendations before adding extra layers.
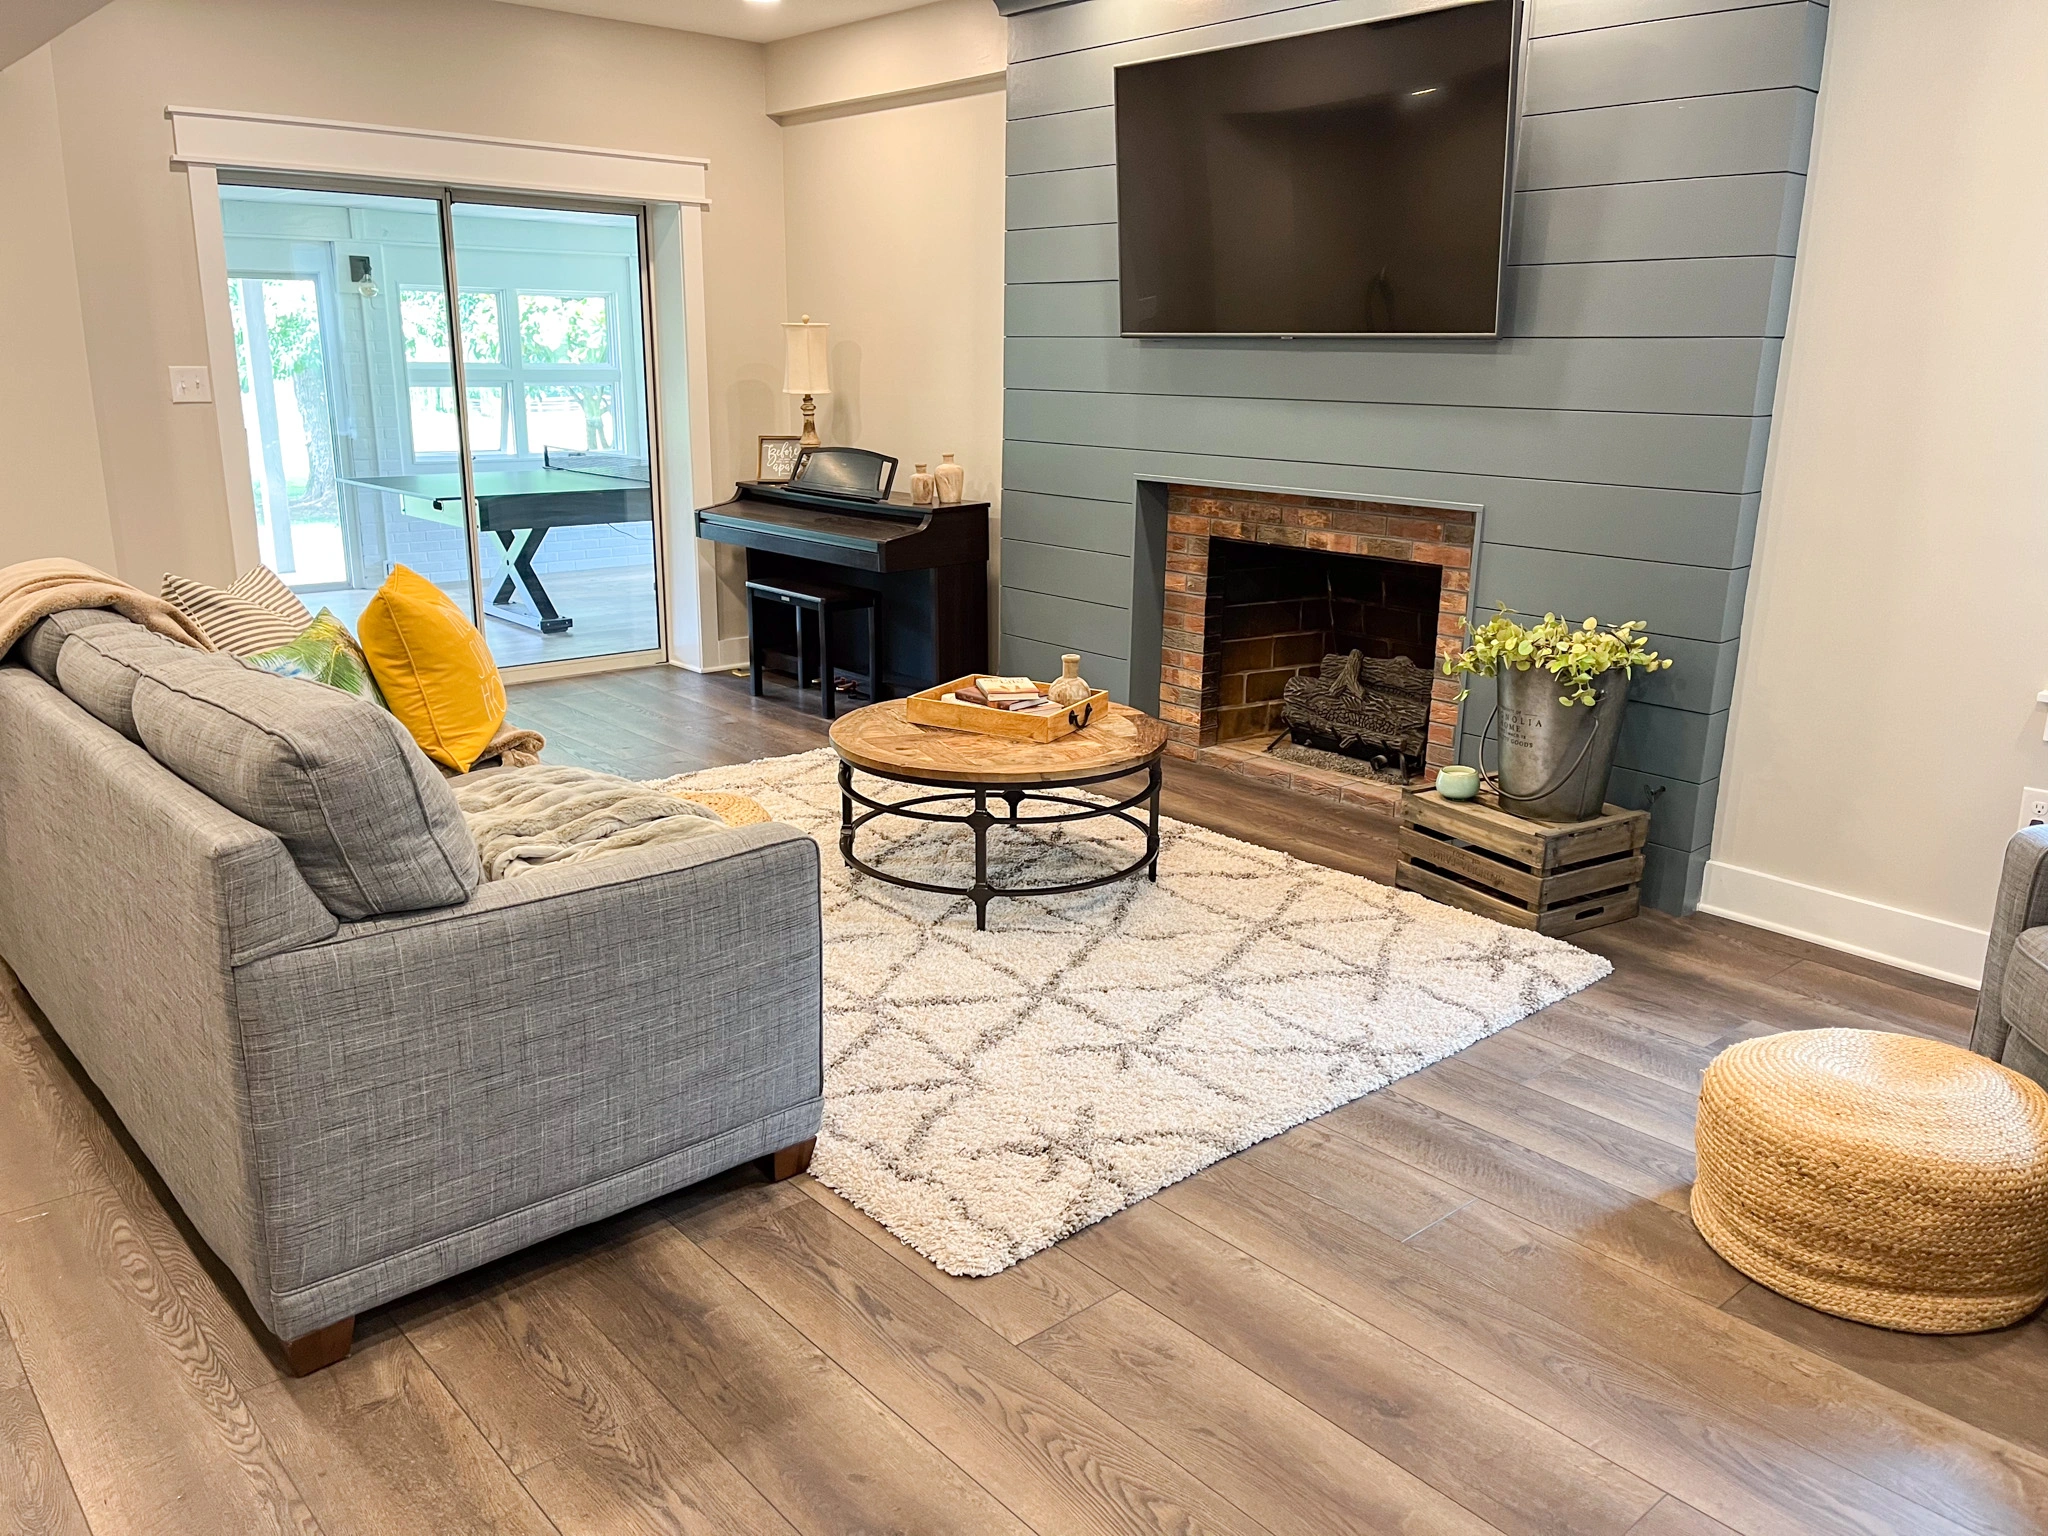
10. Finish With the Right Trim and Care Routine
After installing your LVP, add baseboards or quarter-round molding to cover the expansion gap and give your room a finished look. Avoid nailing trim into the LVP itself — fasten it to the wall or baseplate.
Then, establish a regular care routine:
- Sweep or vacuum regularly
- Clean with pH-neutral products (no bleach or wax)
- Place rugs in high-traffic areas
- Use furniture pads to prevent scratching
Bonus Tip: Work With a Professional for Complex Spaces
If you’re installing LVP in areas with lots of angles, transitions, or moisture — like bathrooms or basements — it may be worth hiring a professional. A skilled installer ensures proper cuts, seals, and transitions, which improves the durability and lifespan of your flooring.
Final Thoughts
Luxury Vinyl Plank (LVP) flooring offers a beautiful, durable, and cost-effective way to upgrade your home. With the right materials, tools, and techniques, your installation will look professional and last for years to come.
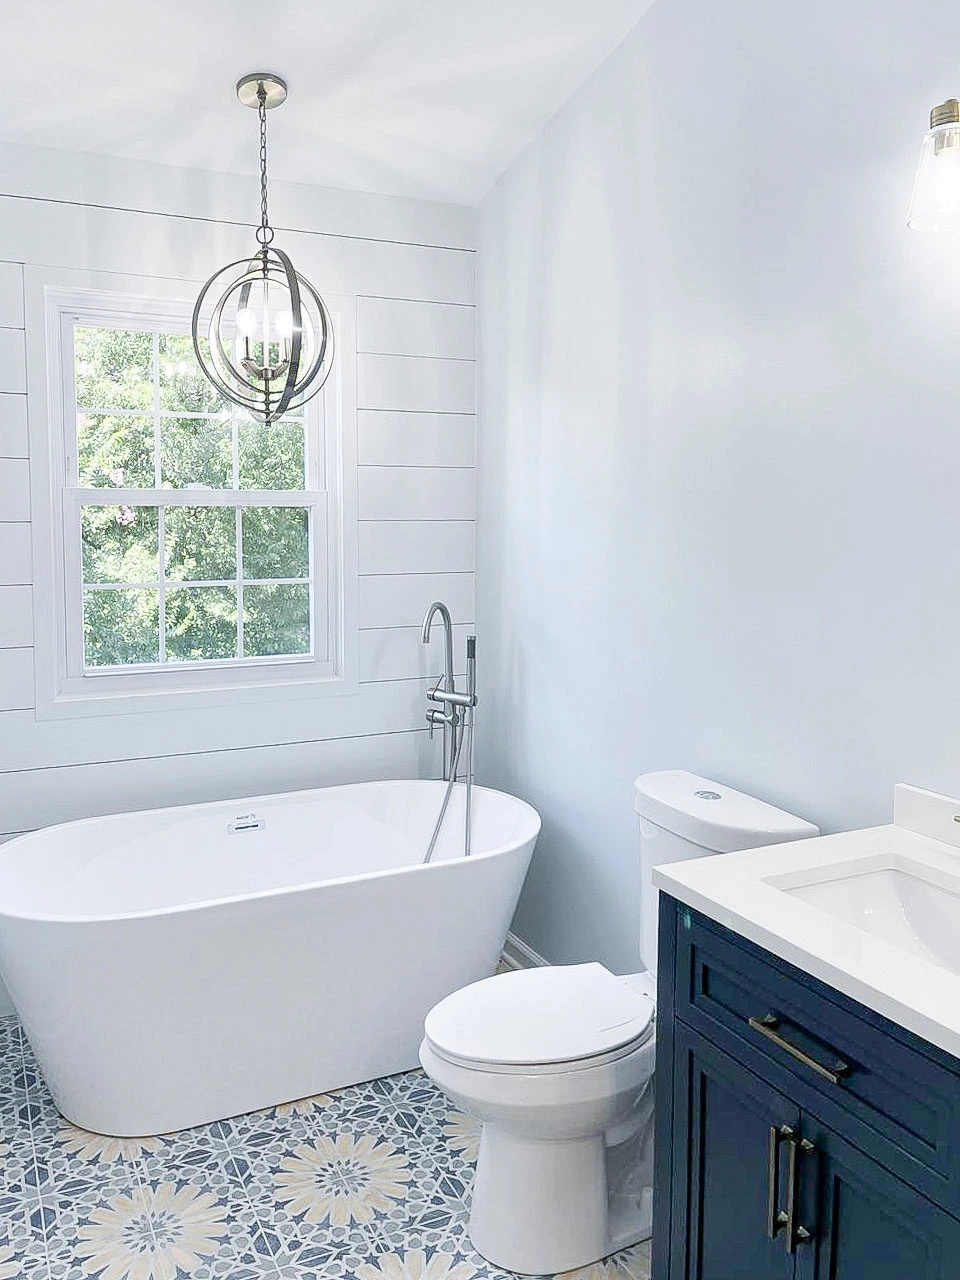
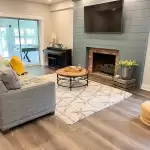
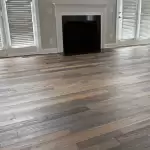
Whether you’re going for a classic oak finish in the living room or a sleek gray plank in the bathroom, LVP provides the style and performance today’s homeowners demand.
💬 Ready to Install LVP in Your Home?
Let Nova Home Works guide your flooring transformation with expert advice and professional service. Whether you need help choosing the right product or want full-service installation, we’re here to make your dream floor a reality.
📍 Schedule your consultation today and upgrade with confidence.